其实这篇文章的题目让我纠结了许久,在我浅显地看了 GraphQL 和 GitLab API 之后我司终于布置了相关的开发任务,这才发觉「纸上得来终觉浅」。没错,这更偏向于是一篇 GraphQL + GitLab API 的实践,也算是 Vue Apollo 的一个进阶和 GitLab API 的一次扩展。总之,这次实践既打破了自己之前文章中的一些观点(打脸),也是对之前知识点的一个补充,更是记录自己第一次的 GraphQL 从理论到实战🤟。
项目初始化
客户端
Vue 中采用 Vue Apollo 来集成 GraphQL 服务,安装使用 Vue Apollo 的方式有三种:
1. Vue CLI 插件
Vue Apollo 的开发者 Guillaume Chau 制作的 Vue CLI 插件,一行命令就可安装 Apollo——$ vue add apollo,安装成功后 Apollo 的相关配置都位于自动生成的 vue-apollo.js 文件中,需要做的配置可参考此文。
2. Apollo Boost
| |
一种折中的安装方式,apollo-boost 中包含了 Apollo 的一些核心包:
apollo-client:Apollo 客户端apollo-cache-inmemory:官方推荐的缓存包apollo-link-http:用于通过 HTTP 链接获取 GraphQL 服务器的数据apollo-link-error:用于检查和处理 GraphQL API 的错误graphql-tag:用于在 JavaScript 中使用模版字符串的方式编写 GraphQL 查询
安装成功后只需要在 main.js 中添加一个 ApolloClient 实例来指定 GraphQL 入口:
| |
此处的 uri 为示例 GitLab API 请求入口,如果你有 GitLab 账号可先参考此文章进行 GitLab 授权认证的相关操作,但是有一个坑点是需要注意的,GitLab Application 的回调地址中不能有 # 符号,冲突在于 Vue 中如果使用 hash 模式的 Vue Router 则路径中必定包含 # 符号,所以在创建 Vue 项目时应采用 History 模式的路由。
3. 自行安装
没错,就是把 Apollo Boost 中包含的所有包及其它依赖包手动安装:
| |
其中 apollo-link 是发送 GraphQL 请求或者获取 GraphQL 数据时的中间件,可进行请求的授权、错误处理等,是 apollo-link-http 的依赖包。axios 就不用多说了哈~
为了更清晰地明确各个配置项的作用,这次呢,就手动安装相关依赖,然后进行相关的配置:
首先建立一个与
main.js同级的 Apollo 配置文件vue-apollo.js:1 2 3 4 5 6 7 8 9 10 11 12 13 14 15 16 17 18 19 20 21 22 23 24 25 26 27 28import { ApolloClient } from 'apollo-client'; import { createHttpLink } from 'apollo-link-http'; import { InMemoryCache } from 'apollo-cache-inmemory'; import VueApollo from 'vue-apollo'; import Vue from 'vue'; Vue.use(VueApollo); // 连接 GraphQL 服务 const httpLink = createHttpLink({ uri: 'https://git.zander.com/api/graphql', }) // 实现缓存 const cache = new InMemoryCache(); // 创建 Apollo 客户端 const apolloClient = new ApolloClient({ link: httpLink, cache, }) // 创建用于挂载到所有组件中的 Apollo 客户端实例 const apolloProvider = new VueApollo ({ defaultClient: apolloClient, }) export default apolloProvider;在
mian.js中导入并挂载到 Vue 中1 2 3 4 5 6 7import apolloProvider from "./vue-apollo"; new Vue({ router, apolloProvider, render: function (h) { return h(App) } }).$mount('#app')
由于 Apollo 的生态实在庞大,不夸张地说,apollo-cache-inmemory、apolo-link 等任意一个模块拉出来分析都可以成为长篇大论,本文就只以应用的层面进行实践,要想了解更多建议研读 Apollo 官网,当然,文章中传送门也是很贴心的😎。
服务端
了解 GitLab API 的你一定知道为什么需要服务端了——授权,虽然要使用基于 GraphQL 的 GitLab API,但是它的授权与认证方式还是不变的,授权认证原理请参考此文。
使用 express-generator 搭建服务端,安装用于发送请求的依赖[1]:
| |
授权与认证
准备工作做好了,接下来开始玩 API 了,授权还是第一步,先来说下思路:
在进入展示 GitLab 数据的页面时判断 localStorage 中是否有请求 GitLab API 所需要的 Access Token;
有 Token 则直接进行 GraphQL 查询并展示数据;
没有 Token 则询问是否去 GitLab 授权(肯定是咯🤷♂️);
前往 GitLab 授权页面授权,拿到用于获取 Token 的 code;
返回数据展示的页面,获取 Token,进行 GraphQL 查询并展示数据。
服务端
1. 用于返回 GitLab 授权 URL 的接口
GitLab 授权页面的 URL 需要后端返回给前端,这样便于 GitLab Applications 的管理(不用在前端改授权 URL 的参数了),这个接口很容易,只是简单的字符串拼接:
| |
2. 用 code 获取 Access Token 的接口
| |
客户端
👌,现在就没服务端啥事儿了,专心做一个页面仔,按照上面的思路来吧~
1. 获取 Access Token
首先 Access Token 是存于 localStorage 中的,需要判断其是否存在。优先考虑不存在的情况,也就是用户第一次进入页面时,需要在 mounted 钩子函数中判断,但是——只判断有没有 Token 就够了吗?如果用户完成了 GitLab 授权自动返回的页面(Redirect URI)还是此页面,那还没等用返回的 code 换 Token 呢就又被拉去授权了,就会陷入死循环,所以判断有没有 Token 的同时还需判断有没有 code,总结一下:
- 有 Token,发请求,拿数据(已经授权过了也存入 Token 了)
- 没 Token 也没 code,去授权,拿 code,换 Token(第一次进入页面)
- 没 Token,有 code,换 Token(刚从授权页面返回)
核心代码:
| |
2. 使用 Access Token
在配置文件 vue-apollo.js 中给 GraphQL 请求加入 Header:
| |
使用 GitLab GraphQL API 获取数据
如果基本了解 GraphQL 你就会知道,只要有了一个东西,API 使用起来就跟玩似的——GraphiQL,也就是 GraphQL 的 Playground,因为你的所有 GraphQL 接口文档都位于 Playground 中的 Docs 中。这也是 GraphQL 的一个重要特点和魅力体现吧——API 文档完全依赖于代码生成,而不是由开发人员自我发挥。
GitLab GraphQL API 的 Playground 主要依赖于你的 GitLab 网址,比如 https://git.zander.com.cn/-/graphql-explorer,只需替换中间的 url 为你的 GitLab url 即可,当然,你也可以先在这里体验一下~
查询数据
是的,数据的查询方式就是和之前记录的内容有出入的地方,先来康康此实例中的数据查询步骤:
1. 编写 gql 查询
src 目录下新建 /graphql/queries.js 文件,引入 gql,使用模板字符串语法编写查询语句:
| |
GitLab GraphQL API 中的大部分查询都需要
fullPath参数,即你 GitLab 中的项目地址,如项目完整的 url 为https://git.zander.com.cn/ZanderXue/gitlab-api-test,fullPath即为ZanderXue/gitlab-api-test,问题是没有用来获取全部fullPath的接口,所以这个fullPath参数可能需要手动管理了。
2. Vue 组件中执行查询
先引入定义好的查询语句:
| |
整个 Vue 中都可以使用 apolloProvider 中的全局对象 $apollo,它是连接 Vue 和 Apollo 的桥梁。比如现在需要执行的查询功能,可使用 this.$apollo.query() 方法:
| |
方法中的 query 参数为 GraphQL 查询语句,variables 参数是一个参数对象,更多参数可参考 Vue Apollo 智能查询。
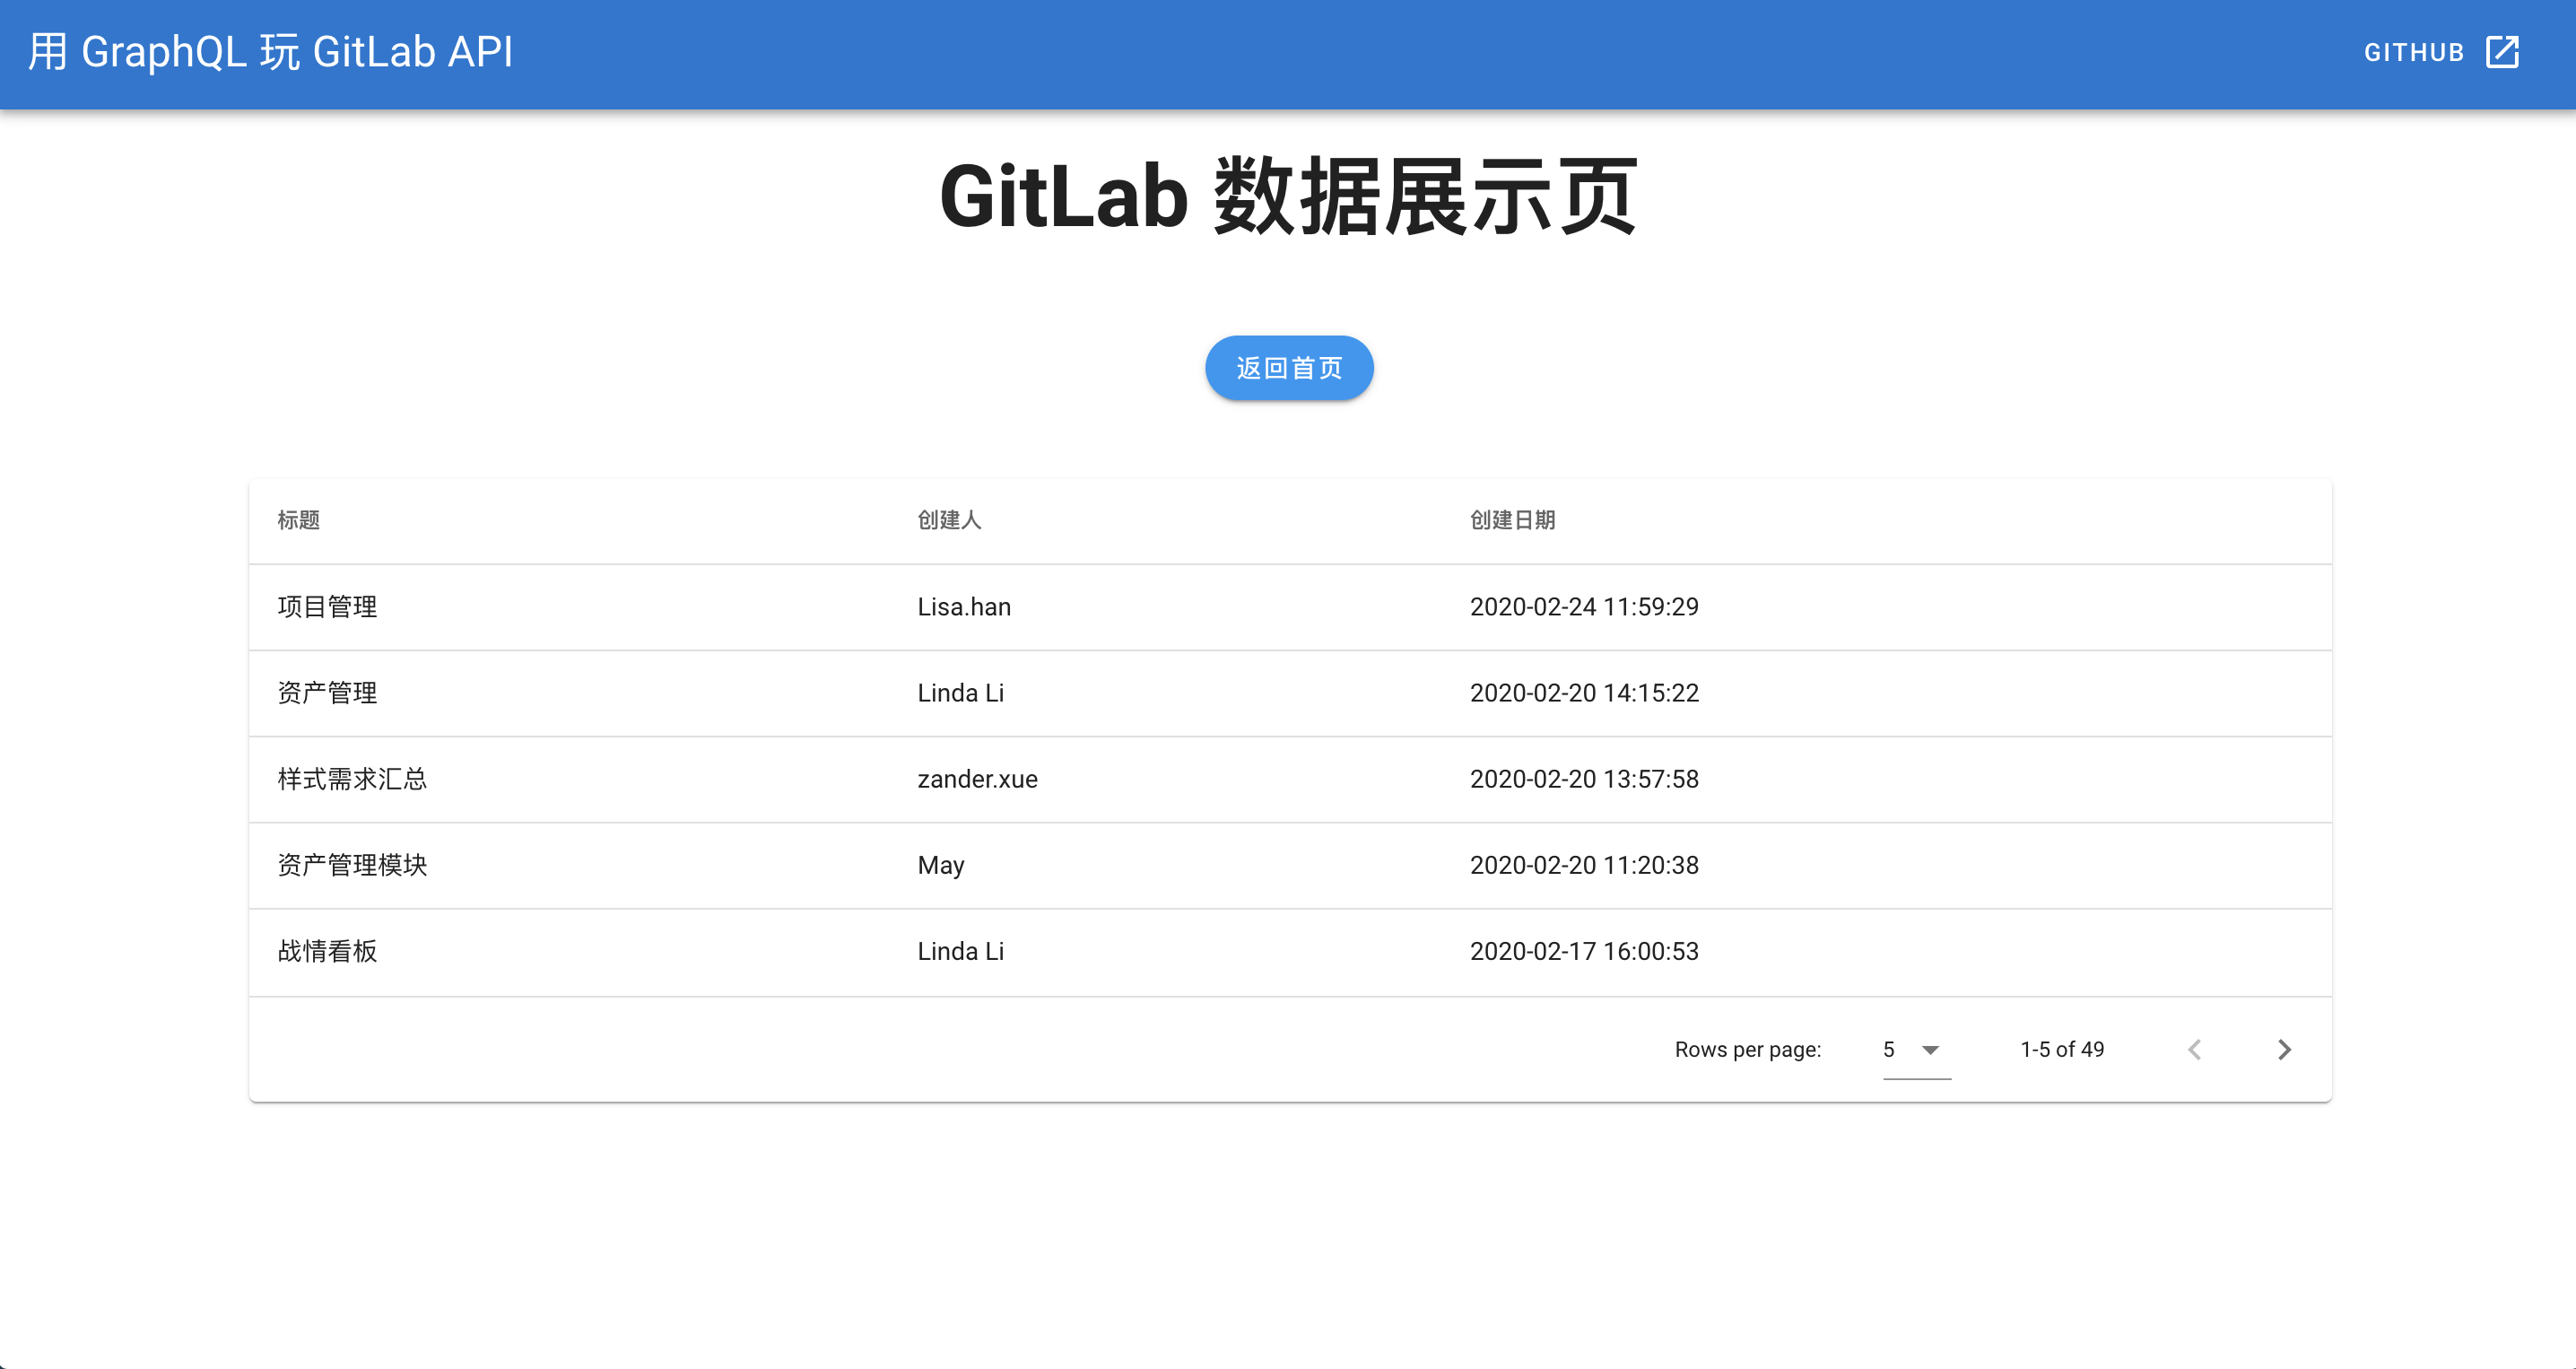 ◎ 页面数据渲染
一些问题
踩坑
在实践过程中发现的 GitLab GraphQL API 的数个坑点:
1. GraphQL 的查询默认只能嵌套三层,多于三层则报错
| |
| |
报错内容如上,这也引出了新的问题——错误捕捉及处理,下文会详述 Apollo 的错误处理,但三层嵌套的问题暂无解决方法,只能尽量避免😢。
2. 数据中如果某字段没有值,那么那一整条数据都会为 null
比如获取 project 中参与 issue 评论的用户的头像 url,如果用户没有主动设置头像(使用 GitLab 默认头像),那么用户的其他信息也将获取不到
| |
| |
恕我直言,这一设计真的是有些蠢……只能放弃显示用户头像的需求了,不然难道要求用户必须设置头像😒?
3. url 路径问题
估计你也注意到了,上面 avatarUrl 的路径是不完整的,缺少 fullPath。不仅如此,所有的图片、文件、链接的路径都是不完整的,导致获取到数据后还需要做二次处理。
比如我的开发任务中,需要在页面渲染所有的 issue 评论,要用到 notes 中所有的 bodyHtml 字段(String 类型),就需要把字符串中所有 a 标签的 href 属性拼接完整,所有 img 标签的 src 属性拼接完整……哦对了,img 标签返回的是 base64 编码,当然,也是不完整的[2]🙂,还要将 src 属性中的路径替换成 data-src 的路径再拼接完整。
4. Access Token 过期处理
GitLab GraphQL API 目前无法对非法或过期的 Access Token 做出对应的反应(如返回不同的状态码或返回错误),而只是让 API 返回的数据为 null,原因是 GraphQL 的 resolve 函数只能返回固定的 Type 的数据,除非是 GraphQL 类型的错误才可直接返回相应的 error 信息。
因此解决方案只能从返回的数据入手了,比如判断是否为 null,是 null 则重新获取 Access Token。
进阶
1. 错误捕捉及处理
apollo-link-error 用来捕捉和处理 GraphQL 类型的错误(GraphQLErrors)或网络类型的错误(newworkErrors)。
安装:
| |
在 vue-apollo.js 文件中引入并配置:
| |
onError 函数的参数对象包括以下五个属性:
GraphQLErrors:GraphQL 服务端错误,数组类型networkError:网络类型的错误operation:发生错误的操作forward:一个方法,可以传入operation,表示重新执行这次错误的操作response:接口返回的结果
官方示例中表示可以利用 apollo-link-error 检测出认证相关的错误并进行相关处理,但是我尝试了下,Access Token 非法或失效并没有被捕捉到并认定为 GraphQLErrors,所以我暂且将其归类到「踩坑」标题下,该模块还需要进一步学习从而完善本文。
🎱案例 GitHub 地址:GitLab-GraphQL-API
request 已被弃用,此处使用 request-promise。
StackOverflow 上也有人提出此问题。